
Hi guys!
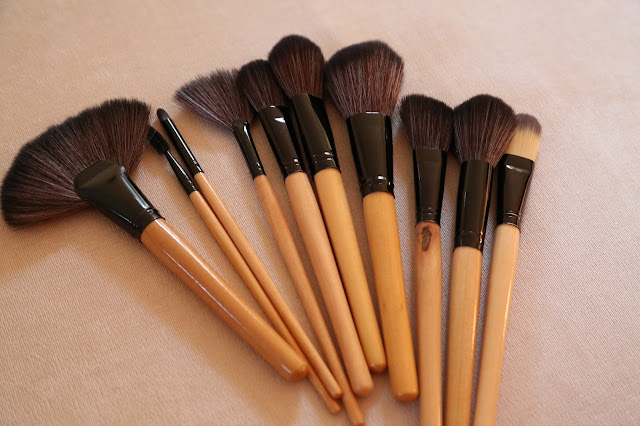
I recently did a DIY since I wanted to decorate my makeup brushes. I felt like the handles were a little plain and I wanted to spice them up a little.
I did three variations but ended up going with the one I liked the most for the majority of my brushes, but I will be going over the steps I took for each design.


Silver brush handle
- Simply paint silver nail polish over the handle and set the brush aside to dry. I used 3 coats of the Wet n Wild Spoiled Nail Color in S070 Daddy's Credit Card.
- That's about it. It's as simple as that!
- Estimated time for 1 brush: 20 minutes.
Polka-dotted handle
- Using a nail polish, paint your desired base color over the handle and set the brush aside to dry. I used 3 coats of the China Glaze Nail Lacquer in 81323 Too Yacht To Handle.
- Next, use a dotting tool to create polka dots. I used the Essie Nail Lacquer in Mint Candy Apple.
- Estimated time for 1 brush: 30 minutes.
Roses handle
- Use Washi tape (doesn't have to be roses) and wrap it around the brush in a horizontal manner. Some Washi tape tend to be more transparent and some are more opaque, so try to use one that is more opaque.
- Use a matte finish invisible tape to seal in the washi tape and ensure that it doesn't peal off. Wrap the matte tape around the brush in a horizontal manner as well.
- Done! It's really easy and it actually takes the shortest amount of time.
- Estimated time for 1 brush: 10 minutes.
I hope you found this short DIY useful. Hopefully, if you find your brush handles to be rather plain, you could try one of these methods I used.
Thank you so much for reading :)